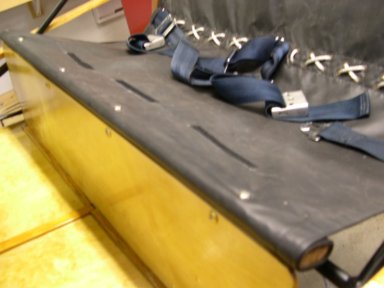
A summary of the process of fitting the old doors into new frames.
First insert the doors into the frame and estimate what a nice even gap all around would be. Mine looked like a 1/4 inch gap would be about right, so I taped pieces of 1/4" shim material around the frame.
The shims hold the door in position temporarily while locating the hinge positions. So the next step is to clamp the door into the frame...the shims holding an ideal gap all around.
I used 2 "C" clamps on the hinge side and a spring clamp at the latch side. Then while the door was being held by the clamps, I drilled the holes for the hinges and marked the position of the latch. After removeing the door/clamps/shims from the frame, I permanently through bolted the hinge halves to the wood frame and remounted the door to the hinges for a test fit. Not quite perfect! So I had to "fine tune" the fit.
I found I could control the "twist" of the door (getting the top and the bottom of the door to meet the frame at the same time when closing it) by shimming a very slight angle into the door frame. I added a .050 Aluminum shim under one side of the frame mount shown at the bottom of the photo. And I could control the up-and-down position of the latch strike by shimming the hinges away from the frame or in this case (top of photo) by chiseling a little pocket and letting the hinge "into" the frame. Very small changes in hinge position and frame twist translate into much larger changes at the latch end.
And finally, I had to fabricate new latch plates.
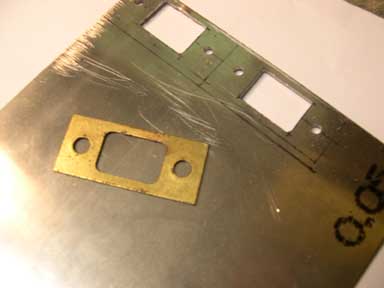
Shown on the left of this photo is the old, original latch plate. It is made of brass plated steel. On the right is the layout of two new plates on .050 4130 steel. The holes have been drilled and the center openings drilled and filed out, the plates are ready to be hack sawed free, cleaned up and epoxy painted.
Return to Index


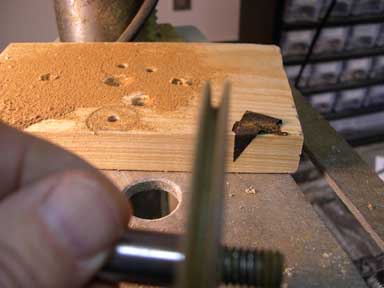
 I used epoxy resin and a few strands of glass liberated from the fringe of a glass deck cloth. The ID is formed by an old spray paint can lid, and the groove is formed by masking tape. The pulley was then sanded (on the drill press) and painted. The light colored portion of the rim in the picture above is the repair.


